Follow these instructions complete with homey and unique ideas for Easter egg decorating.
The Internet overflows with ideas for decorating Easter eggs. I am sure you have seen your fair share of Google searches filled with results vying for attention. Many if not all of these ideas are of the ‘one better’ variety. These attempts to out do your run of the mill colored egg can become so laborous that Martha Stewart would throw her hands up in surrender.
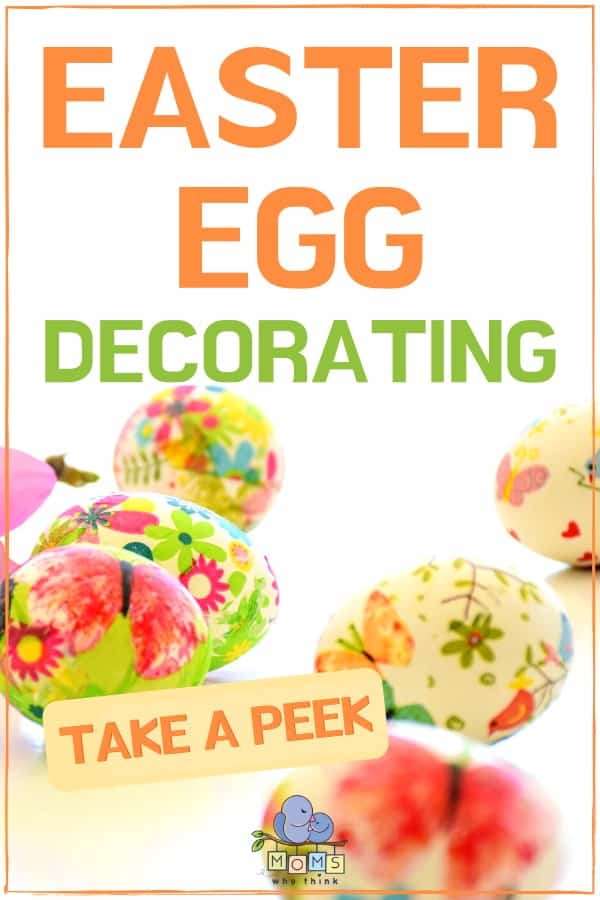
It is not rocket science folks! These are Easter eggs made by five year olds not a replica of the Faberge Coronation Egg. On a similar note, just because this is an activity for kids it doesn’t mean they can’t be fun.
Back to Basics
The most important step in the whole egg dying process is to procure your egg dying kit. There are ways to make your own dye, but they are lengthy and messy. For the truly committed, these are a great way add a bit of challenge to your Easter Egg decoration. For most purposes, the kit is great. The trick is to buy your kit before the last minute scramble of the Saturday preceding Easter. Some stores begin stocking these kits right on the heels of Valentine’s Day. Do yourself a favor and as you pick up your clearance sale chocolate, get a kit.
The directions on the kit will call for either water or vinegar. While the smell might be a deterrent, using vinegar usually makes for more vibrantly colored eggs. It will also discourage children from sampling the colored water.
Let the kids drop the tablets into the water and watch them fizz: it is always a highlight. To help avoid spills use clear plastic cups. Add a few dried beans or craft marbles to the bottom of each cup. This allows the children see what is going on inside the cup, easily identify colors and supplies the cup with extra stability to prevent tipping.
Getting Fancy
OK, so we all like the idea of dressing up the eggs a little beyond plain dye. There are a few tricks to make those eggs picture worthy. First let the kids go at them with crayons. The colored dye won’t stick to the colored surface making a neat two-toned look. If white or yellow is used it will be invisible. The results are ghostly stripes, pictures and dots.
Once the eggs have dried adding stickers will up the cute quotient without adding to the work or mess.
Double dipping is only acceptable when dying Easter eggs. Put the egg in the wire egg holder and lower half into the dye of choice. When sufficiently stained turn it over to dip in another color.
Off the Charts Fancy
Once the eggs are dipped and dunked then dried you can get fancier still. Glitter is great fun, but messy, so be sure to have a drop cloth in place under the work area. Paint or roll your eggs in glue thinned with a bit of water. Don’t put it on too thickly; once the surface is tacky roll the egg in glitter.
To get really fancy with two toned or white on color combinations cut out pieces of tape, duct tape or painter’s tape work best, and dye the eggs with the tape attached. Remove the tape and re-dye or let the white stand out. Remember, the whole point of Easter egg decorating is to have fun!